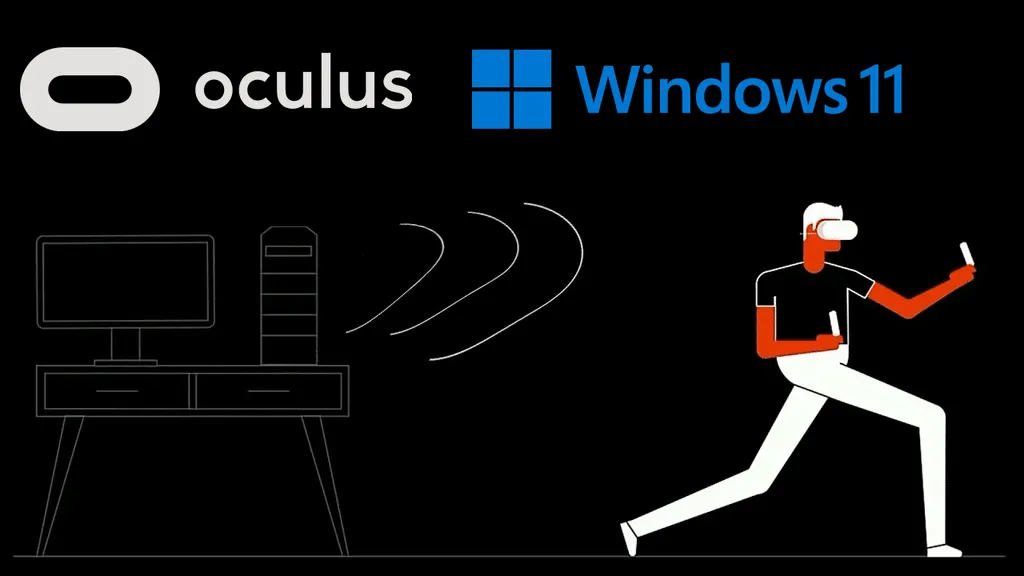
In the realm of virtual reality gaming, nothing is quite as immersive as combining the power of Unity with the capabilities of Oculus Quest. However, developers and users alike can encounter frustrating issues, such as the constant hourglass problem when using Oculus Link on Windows 11. This article aims to provide a comprehensive guide on how to resolve this issue, ensuring a seamless experience in your Unity VR development projects.
Understanding the Oculus Link Hourglass Problem
The Oculus Link hourglass problem manifests as a constant loading symbol that appears when attempting to connect your Oculus headset to your PC via the Oculus Link. This issue can prevent users from launching their Unity applications, hindering the development process and affecting overall Oculus Quest performance. Understanding the root causes of this problem can help you troubleshoot effectively.
Key Factors
Several factors can contribute to the Oculus Link connection issues:
- Software Compatibility: Ensuring that your Unity version is compatible with the Oculus software is crucial. Unity 2022.3 is optimized for VR, but sometimes specific updates may conflict with Oculus software versions.
- Windows 11 Compatibility: While Windows 11 is generally well-optimized for gaming, certain driver or system settings can lead to lag issues and prevent proper connectivity.
- Oculus Software Installation: Outdated or corrupted Oculus software can cause persistent loading screens. Regular updates and clean installations can mitigate this risk.

Setting Up Oculus Link Properly
- Oculus Link Setup: First, ensure your Oculus Link is set up correctly. Connect your Oculus Quest to your PC using a compatible USB-C cable. Open the Oculus app on your PC and enable Oculus Link.
- Windows 11 Driver Updates: Always check for the latest Windows updates and drivers for your GPU. Go to Settings > Update & Security > Windows Update to ensure your system is up to date.
- Unity Engine Updates: Keeping your Unity engine updated to the latest version is crucial for ensuring compatibility and optimal performance. Check for updates regularly in the Unity Hub.
- Unity 3D Graphics Settings: Configure your project’s graphics settings for optimal performance. Navigate to Edit > Project Settings > Player > Other Settings, and ensure that VR support is enabled under XR Settings.
- Oculus Quest 2 Performance Optimization: If you are using Oculus Quest 2, consider adjusting the refresh rate and resolution settings for improved performance. Higher refresh rates provide smoother gameplay but may cause more lag if the system is not optimized.
Common Troubleshooting Steps
1. Restart Your Devices
Sometimes, the simplest solutions are the most effective. Restart both your PC and Oculus headset to reset the connection and clear any temporary glitches.
2. Check USB Connections
Ensure that the USB cable used for Oculus Link is functioning correctly. Faulty cables can lead to connection problems. If possible, try using a different cable or port.
3. Disable Unnecessary Background Applications
Background applications can consume resources and lead to VR lag issues. Close any non-essential programs while running Unity and Oculus Link.
4. Adjust Oculus Link Settings
Access the Oculus app on your PC and navigate to Settings > General. Disable the Unknown Sources toggle if it’s enabled, as this may interfere with certain applications.
5. Verify Unity Performance Tips
- Optimize your Unity project settings by reducing the number of draw calls and using lower resolution textures where possible.
- Implement Unity rendering settings that suit VR applications, such as reducing shadow quality and disabling anti-aliasing if not necessary.
6. Reinstall Oculus Software
If the above steps do not resolve the hourglass problem, consider uninstalling and then reinstalling the Oculus software. This can eliminate potential software corruption.
Enhancing Your VR Environment Setup
Creating an optimal VR environment setup involves ensuring your workspace is adequately configured for virtual reality development. This includes:
- Adequate space for movement and interaction.
- Proper lighting conditions to avoid tracking issues.
- Calibration of the Oculus sensors for accurate tracking.
For more interesting blogs, visit our site: https://futuretrendz.co.uk/

Conclusion
Dealing with the Oculus Link constant hourglass issue can be frustrating, but by following the outlined troubleshooting steps and optimizing your Unity VR development environment, you can achieve a smoother experience. Make sure to keep both Unity and Oculus software updated, adjust your graphics settings, and ensure your hardware is compatible with Windows 11.
By addressing these aspects, you’ll not only resolve connectivity issues but also enhance your overall gaming and development experience. For any further assistance or detailed guides, don’t hesitate to reach out to the community or consult the official documentation.
FAQs
1. What is Oculus Link?
Oculus Link is a feature that allows users to connect their Oculus Quest or Quest 2 headset to a gaming PC, enabling access to a wider range of VR experiences and higher performance.
2. How do I optimize my Oculus Quest performance?
Optimize performance by adjusting resolution settings, ensuring your software is up to date, and using high-quality USB cables to prevent lag.
3. Can Windows 11 affect my VR gaming experience?
Yes, Windows 11 can impact your VR gaming performance due to driver compatibility issues. Always ensure you have the latest drivers installed.
4. What should I do if Oculus Link keeps disconnecting?
If Oculus Link keeps disconnecting, check your USB connections, restart your devices, and ensure that your Oculus software is up to date.
5. How can I troubleshoot VR lag issues?
Troubleshoot lag by closing unnecessary applications, checking your graphics settings in Unity, and ensuring your hardware meets the required specifications for VR.


